Artwork Requirements
Best way:
- An Adobe Illustrator file (.ai) scaled to desired print size.
• Please be sure to expand all fonts and strokes into shapes before sending.
(Other supported vector formats: .eps, .pdf, .svg)
Second best:
- An Adobe Photoshop file (.psd) scaled to desired print size and 300 DPI (outlined below).
• Please be sure to rasterize all fonts and maximize compatibility.
(other supported pixel formats: .pdf, .jpg, .png)
Please note: Pixel formats must be created to size, or larger than size. Scaling up images will result in a loss of resolution. Pixel formatted files must be clear at print size.
*files not prepped correctly are subject to art fees
Common Print Sizes
Front & Back Prints
Standard: 8" - 11" (w) x 15" (h)
Large: 11.1 - 13" (w) x 15.1 - 18" (h)
Oversized: 13.1 - 15" (w) x 18.1 - 20" (h)
Maximum: 15" x 20", which ever comes first
Left Chest Prints
Standard: 3.75" (w) x 5" (h), which ever comes first
Large: 4.5" (w) x 5.5" (h), which ever comes first
Sleeve Prints
T-Shirt: 4.5" (w) x 3.5" (h), which ever comes first
Long Sleeve: 4.5 (w) x 17" (h), which ever comes first
*some print sizes may not be available on certain garment types
Step by Step Document Setup for Adobe Photoshop
step 1 - Creating a new document
If you start out at the correct size, you will greatly reduce the risk of resolution issues.
- I know that I want my design to printed 12" wide and 18" tall, so I will make my document a little larger at 13" x 19".
- NOTICE: Resolution needs to be set to a minimum of 300 dpi.
- Keep in mind - bigger is always better!
You can always scale down, but you can't scale up.
Step 2 - Make Something Great
Keep in mind how many colors you want to print.
- Each color is a new screen.
Step 3 - Rasterize all type & Eefect Layers
There is a good chance that we do not have the same type faces in our system as you do, and resizing images can ruin your effects.
Rasterizing these layers will ensure that your image remains looking how it is suppose to look.
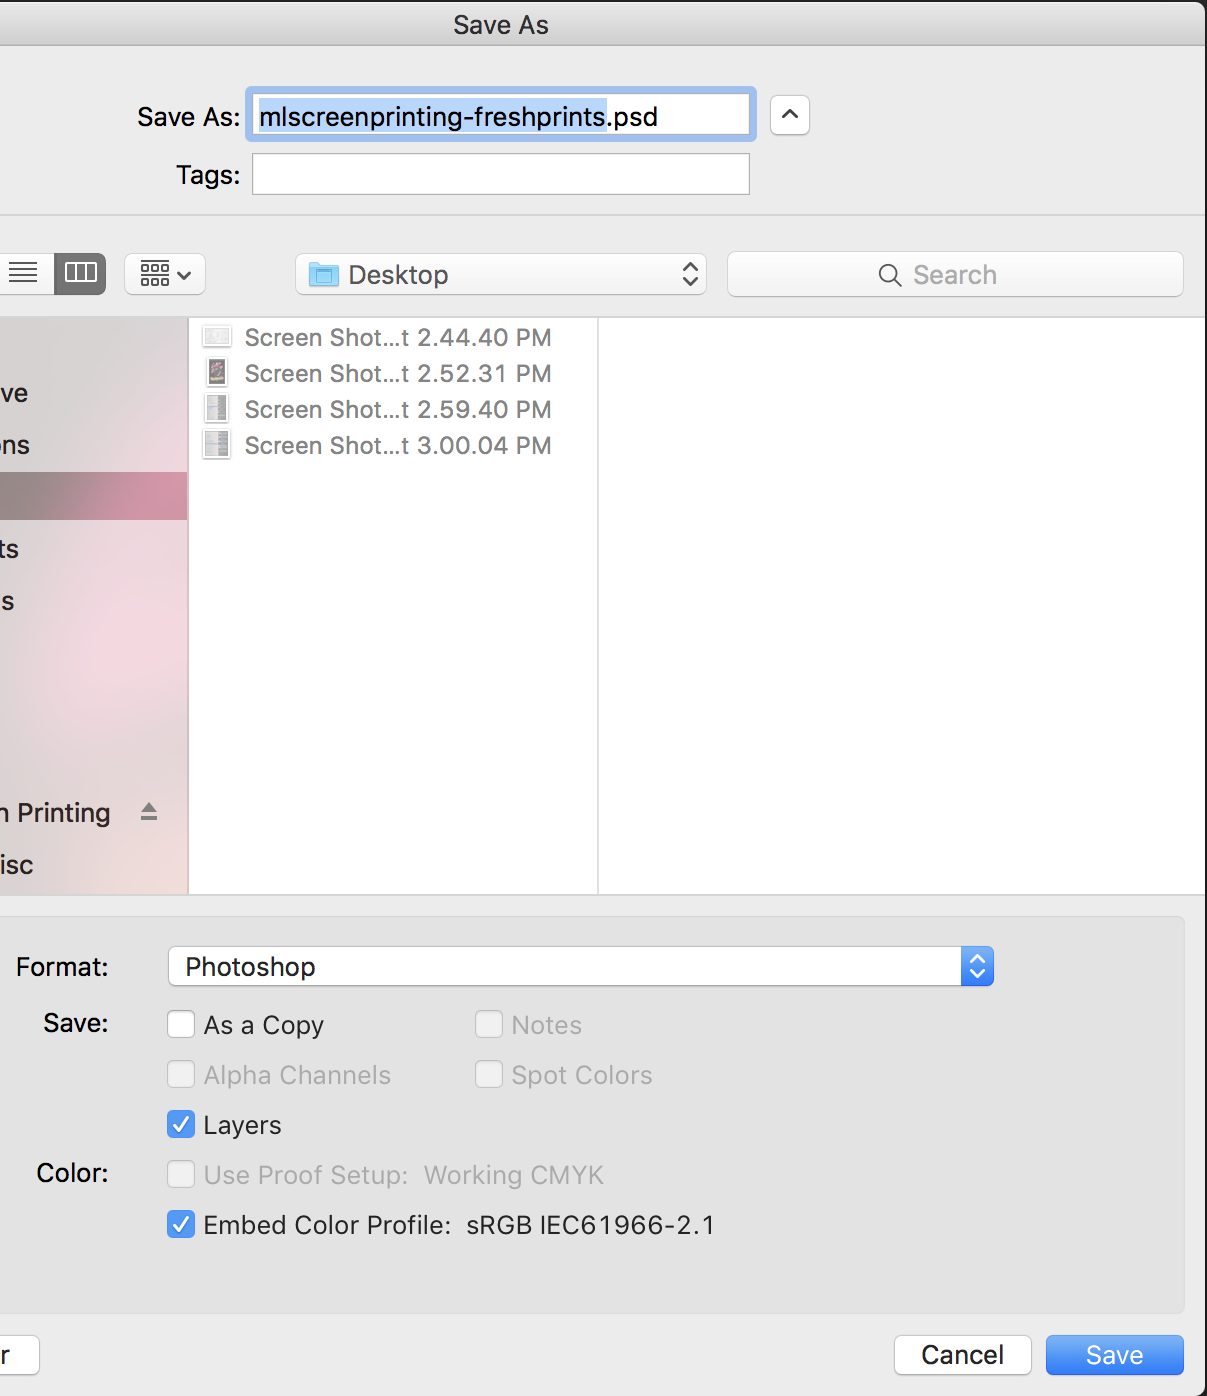
Step 4 - Save Your Art
.PSD is great, just make sure you check the "Maximize Compatibility" option for us.
Send all files to sales@mlscreenprinting.com.
- Files under 25 MB should be fine to email directly.
- Files over 25 MB should be uploaded to a file hosting service like dropbox.com. From there, you can email us a link to the file.


